- Administration
- User management
- Manage options for multiple-choice user fields
Manage options for multiple-choice user fields
Learn how to add, edit, delete, download, and bulk manage options for multiple-choice user fields via the web so you can capture additional information about your team.What are user fields?
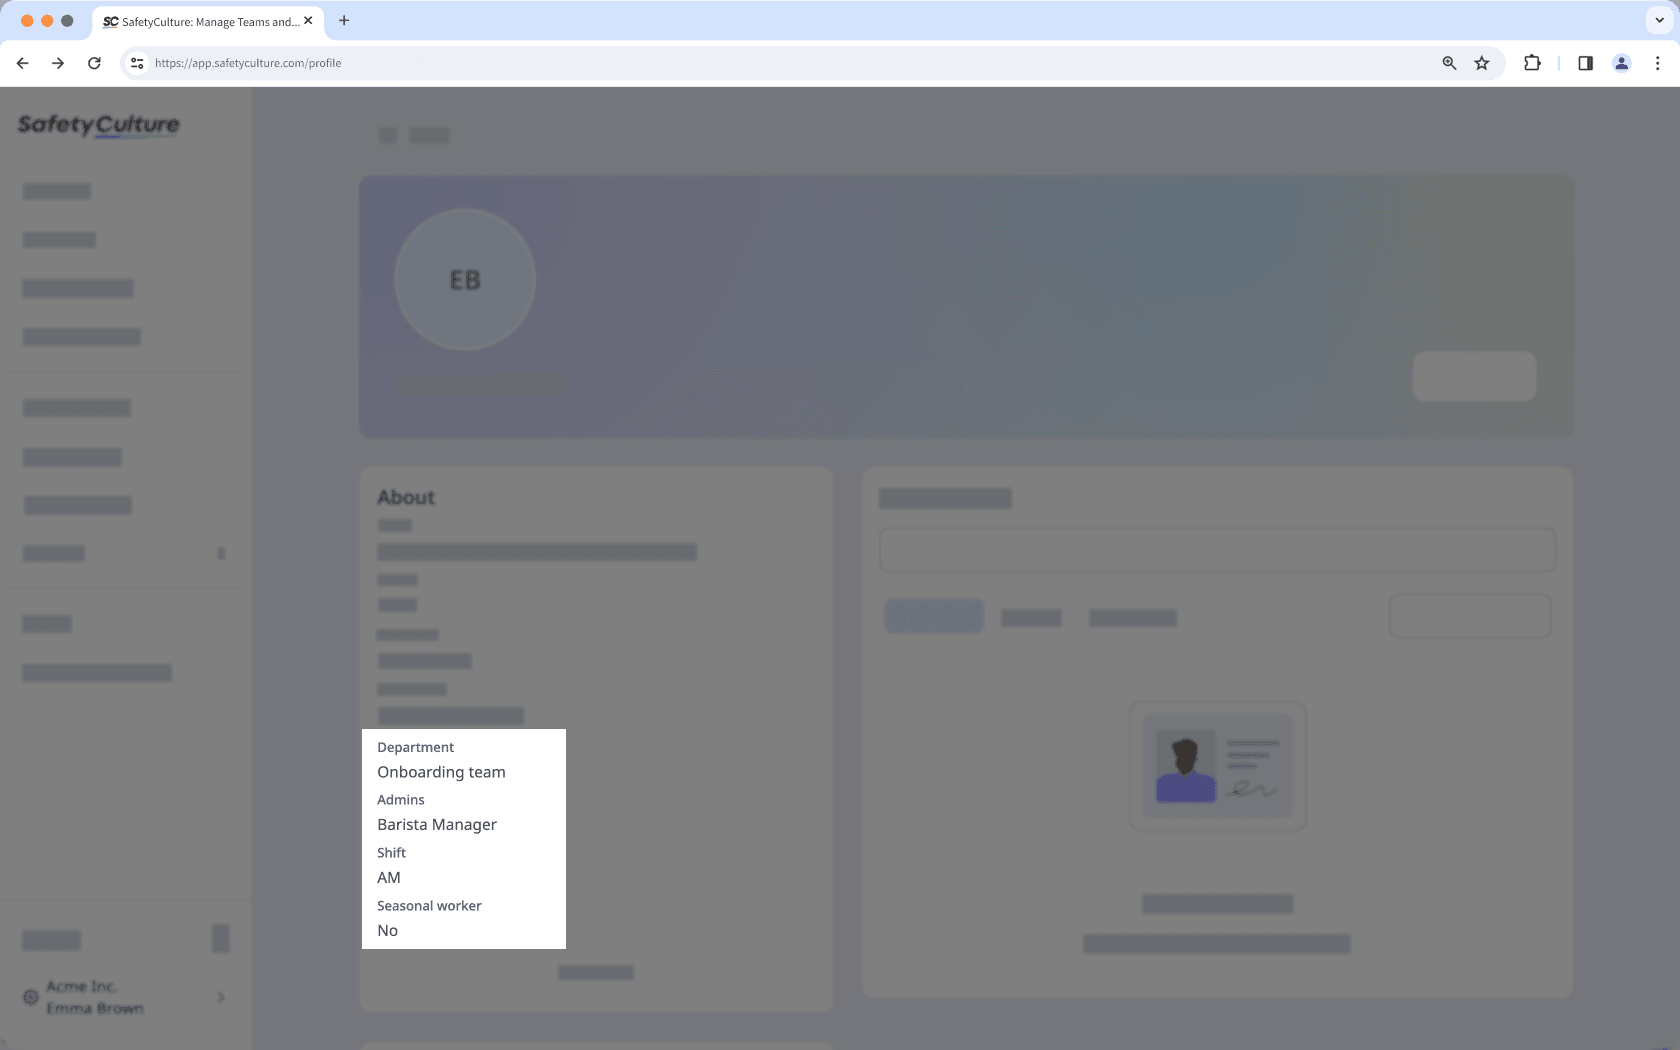
User fields let you capture additional information about your users so it’s easier to manage, support, and understand your team. You can tailor these fields to your organization’s needs to track information such as roles, departments, locations, or other important attributes. By keeping all user details in one place, user fields help you stay organized, reduce manual admin work, and maintain accurate, and richer user profile across your organization.
Add options
Click your organization name on the lower-left corner of the page and select Users.
Click
 on the upper-right corner of the page and select
  Manage user fields.
Create or edit a user field.
In the side panel, enter your option in the "Options" field.
Click
 Add option to add more options.
Click Create or Save on the lower-right of the page.
Bulk add options via CSV
Click your organization name on the lower-left corner of the page and select Users.
Click
on the upper-right corner of the page and select Manage user fields.Create or edit a user field.
In the side panel, click
 on the right-hand side of "Options".
Click
 Bulk upload options (CSV).
In the pop-up window, click Download sample CSV and add each new response to your CSV as a new row under the "Option" column.
Drag and drop your CSV file into the upload box or click browse to select the file from your computer.
For CSV files with multiple columns, select the column header corresponding to your list of options, then click Review data.
Click Upload.
Click Create or Save on the lower-right of the page.
You can also add options in bulk by copying questions from an external document and pasting them when adding new options.
Deleting options from a multiple choice user field converts any groups with membership rules into normal groups, even if the deleted options aren't used in those membership rules.
Delete options
Click your organization name on the lower-left corner of the page and select Users.
Click
on the upper-right corner of the page and select Manage user fields.Click
on the right-hand side of the user field and select  Edit.
Edit.To delete an option, click
 on the right-hand side of the option.
To delete all options, click
on the right-hand side of "Options" and select Delete all.In the pop-up window, click Delete or Delete all to confirm.
Click Save on the lower-right of the page.
Deleting is irreversible, and we cannot restore permanently deleted items. Confirmation is always required before any deletion, so be sure you're not accidentally deleting the wrong item.
Download options as CSV
Click your organization name on the lower-left corner of the page and select Users.
Click
on the upper-right corner of the page and select Manage user fields.Click
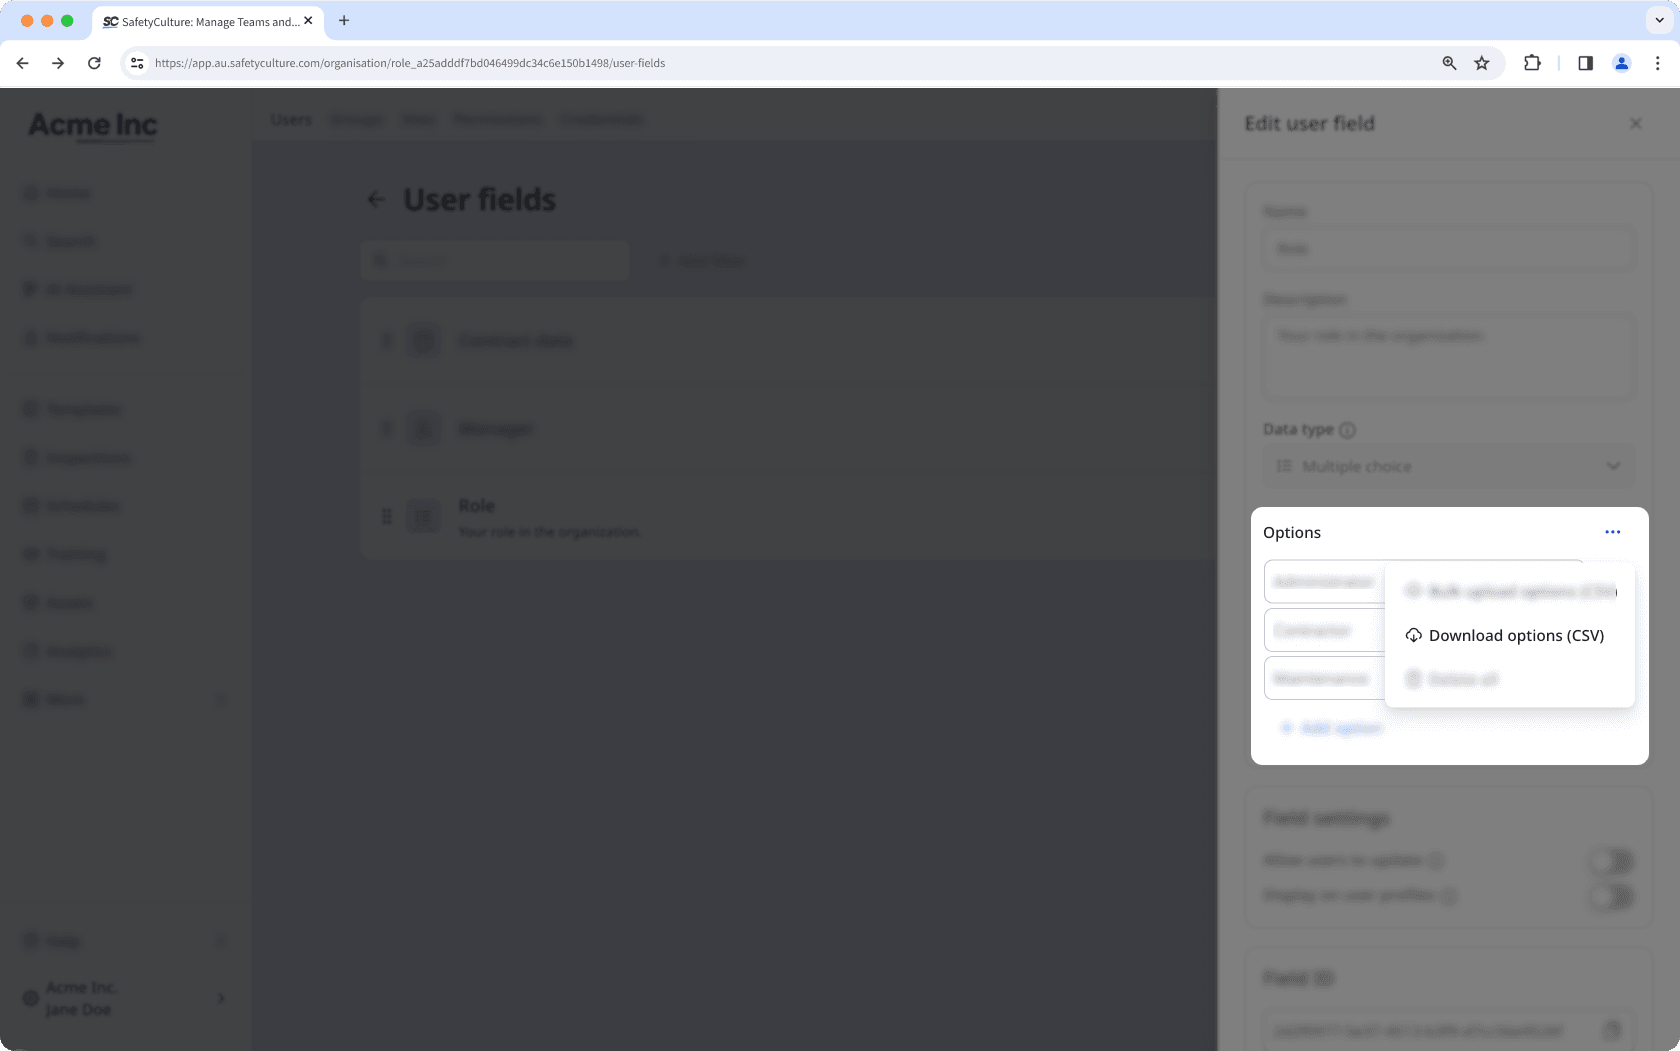
on the right-hand side of the user field and select Edit.In the side panel, click
on the right-hand side of "Options".Click
 Download options (CSV).
Frequently asked questions
When you update an option, the change automatically appears in the user details. On the other hand, when you delete an option, the details are replaced with "None".
Was this page helpful?
Thank you for letting us know.